How to Convert JPG to SVG Online: The Complete Beginner's Guide
By Faisal | November 7, 2026 · 8 min read
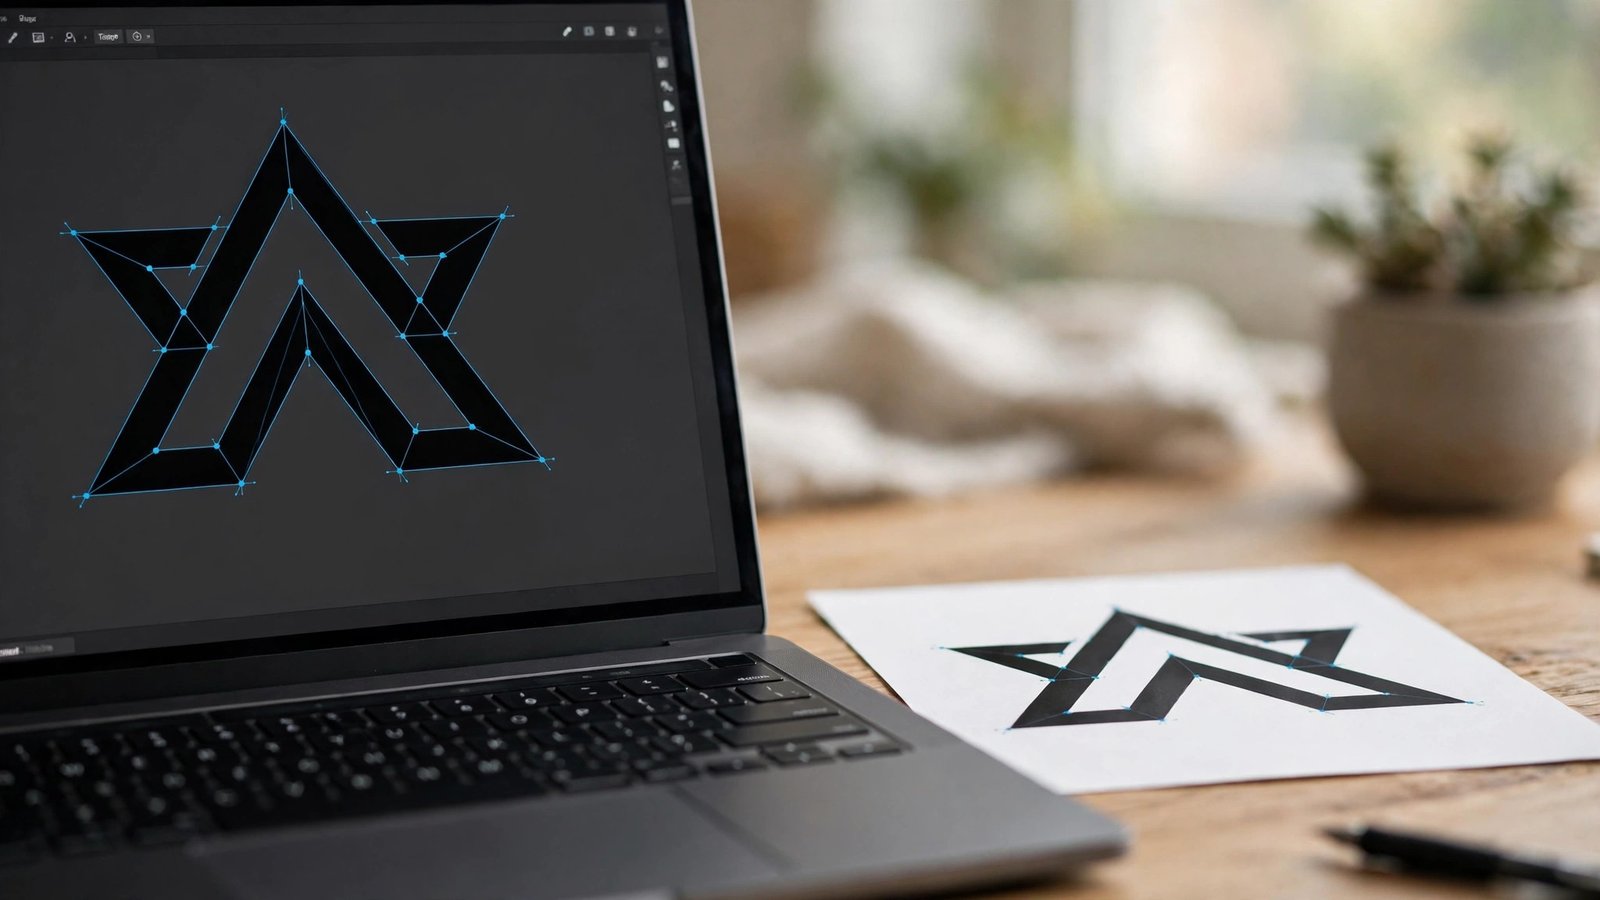
A JPG is a grid of coloured pixels. An SVG is a set of mathematical paths — lines, curves, and shapes described in code. Converting one to the other is therefore not a simple format swap, like turning a PNG into a WebP. Something has to look at the pixels, decide where one colour area ends and the next begins, and redraw those areas as paths. That process is called tracing, and it is the whole difference between a useful SVG and a useless one.
The One Thing to Check First: Traced SVG vs Wrapped JPG
Some online tools that promise a "JPG to SVG" conversion do not trace your image at all. They take your JPG, embed the original pixel image inside an SVG file, and hand it back. The file extension says .svg, but the content is still a photograph made of pixels. Enlarge it and it blurs exactly like a JPG. Try to cut it on a Cricut and the machine has no paths to follow. Try to recolour a shape and nothing changes, because there are no shapes — only one embedded picture.
A real traced SVG is different. Zoom in without blur, select a single shape and change its colour, or send its paths to a cutting machine. Test it: download the result, open it in a browser, and zoom to 400%. If the edges stay razor-sharp, it was traced. If they go soft and blocky, it was wrapped. The converter on this site traces in your browser, and your image never leaves your device.
Which Images Convert Well — and Which Do Not
The best candidates have flat colour, strong contrast, and clean edges: logos, icons, simple illustrations, bold lettering, hand-drawn sketches, and silhouettes. A black logo on white is the perfect case.
The worst candidates are detailed photographs: faces, landscapes, and anything with soft gradients. A photograph traced faithfully would need thousands of tiny paths, and the file would be enormous and ugly. Simplify a photo first — turn it into a high-contrast silhouette or a line drawing — and then trace that.
Step 1: Prepare Your JPG
Good tracing starts before you upload anything. Use the largest, cleanest version you have, not a screenshot of a screenshot — every compression artefact becomes a stray shape. Crop away anything you do not need, remove a busy background first, and boost the contrast if the image is washed out.
Step 2: Upload and Pick a Starting Preset
- Open the free converter at imagetosvg.net and upload your JPG (up to 4 MB). The conversion runs entirely in your browser — your image is never uploaded to a server, so it stays private even if it is a client logo.
- Start with the Default preset for a colour logo, the Stencil preset for a black-and-white design you plan to cut, or the Sketch / Line Art preset for a hand-drawn image. A preset is only a starting point — you will tune it in the next step.
- Look at the preview before you download anything. If the preview looks wrong, the downloaded file will look wrong too.
Step 3: Tune the Controls
- Threshold (0–255): the light-versus-dark cutoff. If faint lines are missing, raise it; if dark areas are turning into solid black blobs, lower it. A good starting point for a clean logo is around 128; for a faint pencil sketch, try 90–110.
- Colors (2–16): how many flat colours the tracer may use. Two or three colours give a clean, simple result — ideal for logos, stencils, and cutting files. A three-colour logo should be traced with Colors set to 3, not 12.
- Blur Radius (0–10): a tiny smoothing pass before tracing. JPG files are famous for fuzzy artefacts along edges, and a Blur of 1 or 2 smooths that noise so the tracer draws clean curves instead of jagged steps.
- Path Omit (0–50): a filter for tiny specks. If your traced SVG is full of unwanted dots, raise Path Omit to 10–15 and the tracer will discard small paths automatically.
- Grayscale: tick this first for sketches and ink drawings. It strips colour before tracing, so the tracer only has to judge light versus dark.
Worked Example 1: A Colour Logo JPG
Take a typical case: a small business logo saved as a JPG, three flat colours, white background, about 1200 pixels wide. Upload it, choose the Default preset, and set Colors to 3. Leave Threshold at 128 and Blur at 1. Preview and zoom in on the letters: the edges should be smooth, and each colour area one solid shape. If a letter has a hole filled in — the middle of an "o" or an "a" — lower the Threshold, or raise Path Omit. When the preview is clean, download the SVG: it should look identical to the JPG at normal size, and stay sharp at 300% zoom.
Worked Example 2: A Hand-Drawn Sketch
Now a harder case: a pen sketch photographed with a phone. The paper is slightly grey, the lines vary in darkness, and there is a shadow in one corner. Tick Grayscale and choose the Sketch preset. Set Colors to 2 — ink and paper, nothing else. Set Blur to 1 to soften the paper texture, and Threshold to around 100 so the faintest lines survive. If the shadow has become a large black shape, crop the photo tighter, or raise the Threshold until the shadow drops out while the drawing stays. If thin lines are breaking into dashes, lower the Threshold slightly and reduce Path Omit. When the lines are continuous and the background is clean, download. This kind of traced sketch is exactly what cutting machines and laser engravers want — one clean outline, no photographic noise.
Settings Cheat Sheet
| Image type | Colors | Threshold | Blur | Path Omit |
|---|---|---|---|---|
| Colour logo, flat colours | Match the logo (2–4) | 128 | 1 | 8 |
| Black-and-white design / stencil | 2 | 128 | 1 | 10–15 |
| Hand-drawn sketch or ink | 2 (+ Grayscale) | 90–110 | 1 | 8–10 |
| Simple illustration, several colours | 4–6 | 128 | 1–2 | 8 |
| Photo simplified to a silhouette | 2 | 110–140 | 2 | 10–15 |
These are starting points, not rules. Change one slider at a time, watch the preview, and stop as soon as it looks right — chasing perfection with every slider usually makes things worse.
Troubleshooting: Common JPG-to-SVG Problems
My SVG looks like a giant black blob
The Threshold is too high, or the image has too little contrast. Lower it to 90–110, or switch to the Stencil preset to reset the defaults.
The edges are jagged and stair-stepped
That is JPG compression noise. Raise Blur to 1 or 2, and start from the highest-resolution original you can find.
The file is huge — megabytes for one logo
You traced a detailed photo, or set Colors too high. Reduce Colors, raise Path Omit, and simplify the source first. A clean logo should be a few kilobytes.
Colours came out wrong
The tracer groups similar colours together, so two close shades may merge. Trace in black and white first, then recolour in a vector editor — Inkscape is free.
The SVG opens in a browser but not in my cutting software
Some cutting software is picky about SVG features. Export a simple version: two colours, no gradients, no embedded images, and closed paths only.
Tips for Better Results Every Time
- Start from the best original. Tracing cannot add detail that is not in the JPG. A 2000-pixel original beats a 300-pixel thumbnail every time.
- Trace once, reuse forever. Save your good SVG alongside the original JPG. You will never need to convert that image again.
- Keep a settings note. When a combination works, write it down. It becomes your personal preset for similar images.
- Do not trace photographs for print. A traced photo looks worse than the original JPG at print size. Use SVG for shapes and logos; keep photos as JPG or WebP.
- Check commercial use. Converting an image you do not own does not give you the right to sell it. Only trace images you created, bought, or have a licence for.
Frequently Asked Questions
Can I convert a JPG to SVG for free?
Yes — the converter at imagetosvg.net is free, runs in your browser, and needs no account. Upload a JPG up to 4 MB and download the SVG with no watermark.
Will converting a JPG to SVG make it higher quality?
No. Tracing cannot add detail that was not in the JPG. It makes the shapes scalable, so the SVG stays sharp at any size, while the JPG would blur.
Why is my JPG-to-SVG file so large?
Usually the source was a detailed photo, or Colors was set too high. Simplify the image, reduce Colors, and raise Path Omit. A clean logo should trace to a few kilobytes.
Can I use the SVG on Cricut or Silhouette?
Yes for Cricut Design Space, which opens SVG files directly. Silhouette Studio's free Basic Edition does not open SVG files — you need Designer Edition or higher, or export a DXF instead.
Is my image uploaded to a server when I convert it?
Not with this converter. All tracing happens in your browser, so your image never leaves your device — important for client logos and private designs.
Final Verdict & Summary
Converting a JPG to SVG is a tracing job, not a renaming job. Pick a clean, high-contrast source, check that your tool actually traces instead of wrapping the JPG, and tune Threshold, Colors, Blur, and Path Omit one at a time while watching the preview. Logos, sketches, and silhouettes trace beautifully; detailed photographs should be simplified first, or kept as JPGs.
Need a real traced SVG?
Try our free, browser-based converter. Upload any JPG, PNG, or GIF and generate clean SVG vector paths instantly without registration.
Open the Free Converter →